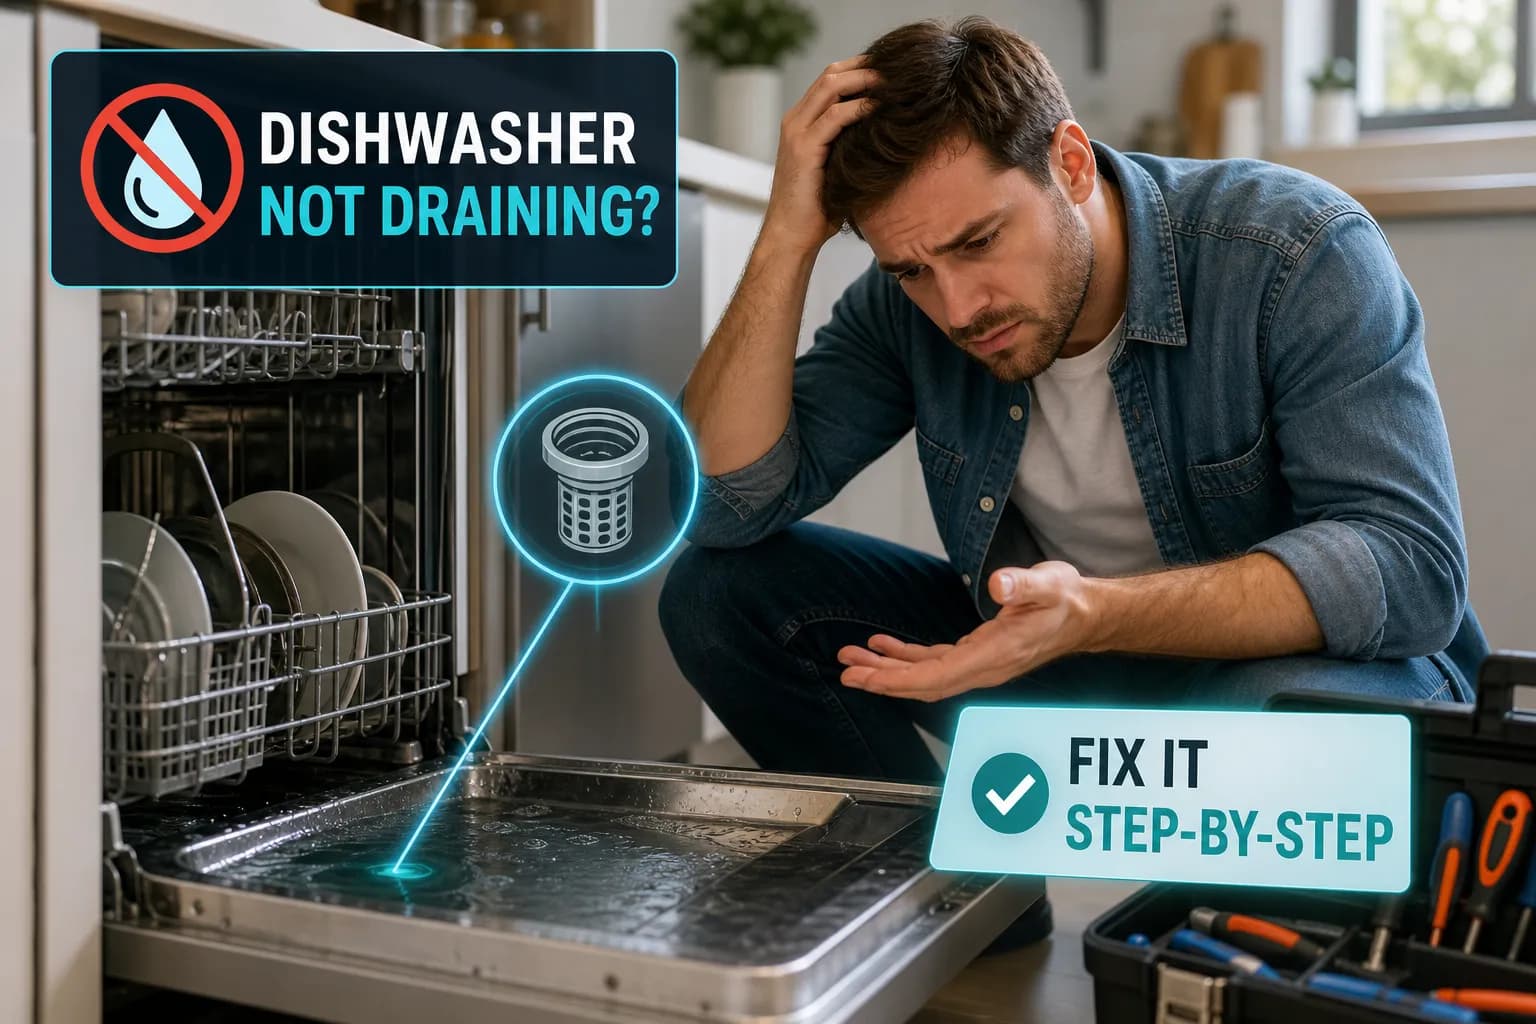
Learn how to fix a dishwasher that won't drain with four checks. Step-by-step tips to remove water, clean filters, clear hoses, and when to call an engineer.
You open the dishwasher door after a full cycle, reach for the clean plates, and find a pool of grey water sitting at the bottom of the tub. If you are trying to work out how to fix a dishwasher that won't drain, you are in the right place. It is one of the most common appliance complaints we hear, and it is almost always fixable without a panic-buying trip to the appliance showroom. Based on years of experience and thousands of repairs, the engineers at Alpha Appliances Ltd have seen this fault more times than almost any other.
This guide walks you through four checks in order, starting with the most frequent culprit and working toward the more technical. At each stage, you will find a clear signal telling you whether to carry on or call a certified engineer before the problem gets worse or more expensive.
Before touching anything inside the machine, cut power at the socket or circuit breaker. Water and live electricity do not mix, and skipping this step turns a simple repair task into a genuine hazard. Lay old towels around the base of the dishwasher to protect the floor before you open the door fully.
Remove the bottom rack and set it aside. Use a cup, ladle, or small bowl to scoop the bulk of the water into a bucket, then switch to towels or a wet/dry vacuum to absorb the shallow layer that remains. Leave the door open and let the interior air dry for a few minutes before moving to the first check.
Most drainage faults come down to four culprits: a blocked filter, a kinked or clogged drain hose, a garbage disposal problem (including an unremoved knockout plug on new installations), or a jammed and failed drain pump. A damaged door seal can also contribute, though it more often causes leaks than standing water. It is also worth noting that a clogged air gap, the small cylinder sometimes fitted near the sink, can prevent proper draining and is worth checking if your installation includes one. This guide works through the four main causes in the order they most frequently appear, so start at Step 1 every time. Starting with the simplest checks first saves both time and money, since filter and hose issues are common and cost nothing to address.
Pull out the bottom rack and locate the filter assembly at the base of the tub, usually positioned near the spray arm. Most modern dishwashers use a two-piece assembly: a cylindrical upper filter and a flat mesh lower filter sitting beneath it.
Filters should be cleaned every three to six months under normal use, and monthly if you run the machine heavily or rarely scrape plates before loading. A blocked filter is one of the most common reasons a dishwasher holds water after a cycle, so this is always the right place to start. For detailed manufacturer guidance on removing and replacing filters, see the Whirlpool guide on removing and replacing dishwasher filters.
If the filter was visibly clogged with grease, food debris, or limescale, run a rinse cycle and watch whether the machine drains properly. In many cases, this is all the repair needed. If the filter was already clean before you started, or if the machine still holds water after cleaning it, the blockage is further along the drain path and Step 2 is your next move.
When to call a pro: visible damage to the filter mesh, including holes, warping, or cracks, means the filter needs replacing before you run the machine again. If you are unsure of the correct part number for your model, a certified engineer can source and fit the right part, preventing secondary damage to the pump.
Open the under-sink cabinet and trace the dishwasher drain hose from the machine to where it connects to either the garbage disposal or a standpipe. Look along the full length of the hose for sharp bends or pinch points, and straighten any kinked section by hand. A kinked hose is a common cause of poor drainage and costs nothing to fix.
Before disconnecting anything, lay a towel and a shallow tray under the connection point because residual water will spill out. Disconnect the hose at one end and blow through it: if air does not pass freely, there is a clog. A blockage close to either end of the hose can often be cleared with a straightened wire hanger, work carefully to avoid damaging the hose lining, and stop if you meet significant resistance. Do not use a plumber's snake; it can puncture the hose lining and turn a simple fix into a replacement job. For additional troubleshooting on clogged drains and common causes, see Maytag's guide on how to fix a clogged dishwasher.
If a garbage disposal was recently fitted in your kitchen, there is one specific fault worth checking before anything else. New disposal units are shipped with a knockout plug inside the dishwasher inlet port. If the installer did not remove it during fitting, the dishwasher has nowhere to drain to, regardless of how clean the filter is.
Before inspecting the port, turn off power to the disposal at the socket or circuit breaker. Disconnect the dishwasher drain hose from the disposal inlet and inspect the port directly. Insert a pencil into the opening. If it travels roughly three inches in, the plug has already been removed; if it stops short, the plug is still in place. Knock it out with a screwdriver and hammer, retrieve the plug from inside the disposal, and reconnect the hose with the clamp tightened securely before running a test cycle.
When to call a pro: if the hose has visible cracks, splits, or a deep blockage that cannot be reached from either end, the hose needs replacing. Replacement hoses are inexpensive, but if accessing the pump-end connection requires pulling the machine out from its housing, this is a good point to hand the job over to a certified engineer to avoid damaging the appliance or your kitchen fittings.
Disconnect power completely before going anywhere near the pump. Remove the lower access panel at the front of the machine to reach the pump, which sits at the base of the dishwasher sump. With it accessible, check whether the impeller spins freely by hand. Common culprits include broken glass, food clips, crockery fragments, and fruit stones. Any of these can cause the pump to hum without moving water.
If you find debris, remove it carefully, reassemble the pump housing, and run a short test cycle. A freed impeller resolves the problem in many cases without any further work. If the impeller spins freely but the machine still will not drain, move on to the electrical test.
Set a multimeter to the low-ohms range and probe the pump terminals. A functioning drain pump on most domestic dishwashers reads somewhere between 15 and 260 ohms, depending on the brand and model, check your machine's specification sheet to confirm the expected range for your make. A reading outside the expected range, or an open circuit, indicates a failed pump motor. In the UK, drain pump replacement including parts and labour typically costs in the region of £115 to £160, with London-based callouts sitting toward the upper end of that range. For step-by-step guidance on diagnosing a dishwasher that won't drain, see the AHS guide on how to fix a dishwasher that is not draining.
When to call a pro: if the impeller spins freely, the pump reads within specification, but the machine still will not drain, the fault likely lies with the control board rather than the pump itself. Control board diagnostics are not a DIY task. Equally, if the pump has failed electrically, replacing it involves handling live wiring and sealed internal connections. At this point, call a certified appliance engineer.
A worn or damaged door seal does not directly block the drain path, but it does affect how water behaves inside the tub. When the gasket sits unevenly, water can seep around the door frame rather than staying contained and cycling toward the drain outlet. Over time, mould, limescale, and food residue build up in the folds of the gasket and cause it to deform or pull away from its groove. Hard water and frequent use both accelerate this process, which is why gasket condition is worth checking even on machines that are only a few years old.
Run a finger along the full length of the door seal and check for cracks, tears, stiffness, or sections that have lifted out of position. Clean the gasket thoroughly with a warm damp cloth and a small amount of white vinegar to remove mould and built-up residue, test a small area first and consult your machine's manual, as some gasket materials can be sensitive to acidic cleaners. Check again whether the seal sits flat all the way around the door frame. If the seal is structurally intact but dirty, cleaning alone can restore a proper water-tight fit and resolve the problem.
When to call a pro: a cracked, perished, or torn door seal needs replacing with the exact gasket specified for the model. Fitting the wrong seal creates persistent leaks rather than solving them. If the door itself appears misaligned, or the latch mechanism feels loose or worn, this points to a structural issue that goes beyond a seal swap and needs a certified engineer to assess properly.
Work through all four checks before drawing conclusions. If the filter is clean, the hose is clear, the disposal connection is open, and the pump passes both the visual and electrical tests, the fault is almost certainly in the control board or motor wiring. These components require specialist diagnostic equipment to test accurately.
You should also stop and call a professional if any of the following apply:
A trained technician runs a full diagnostic across the control board, motor, and sensor array, not just the physical drain components visible to the eye. Alpha Appliances Ltd engineers hold recognised appliance repair qualifications and undergo manufacturer-specific training, meaning they follow the exact fault-diagnosis process specified for the brand in question, whether that is Bosch, Samsung, Miele, or any other major name. That manufacturer-level knowledge matters: it is the difference between a first-time fix and a second callout.
Alpha Appliances Ltd offers fixed-price transparent quotes, no hidden callout charges, and a consistent record of first-visit resolutions. We serve homeowners across London, Surrey, Berkshire, Hampshire, and Dorset. Booking is straightforward online, appointments are typically confirmed within 24 hours, and if the dishwasher turns out to be beyond economical repair, the engineer will tell you honestly rather than running up unnecessary bills on a machine that is not worth saving.
Work through the four checks in sequence: clean the filter first, inspect the drain hose and disposal connection, test the pump mechanically and electrically, then examine the door seal. Each step builds on the last, and skipping ahead often means missing the actual cause and wasting time on the wrong fix.
Most dishwasher drainage problems are fixable at home if caught early. Knowing when to stop is just as important as knowing what to check. Attempting a pump replacement or control board repair without the right training and tools carries a real risk of turning a manageable repair bill into a significantly larger one. If you need a quick refresher on safe ways to drain standing water from a dishwasher before starting any repair, see Home Depot's guide on how to drain a dishwasher.
If you have worked through every step in this guide and your dishwasher is still holding water, the fault needs professional attention. If you still need help with how to fix a dishwasher that won't drain, book a visit with Alpha Appliances Ltd online today: fixed price, certified engineers, and appointments confirmed within 24 hours.
Book a visit from a certified Alpha engineer in minutes.
TRUSTED BY HOMEOWNERS
Fast, reliable, and warranty-backed repairs for every major brand.
Discover more tips from Alpha engineers.