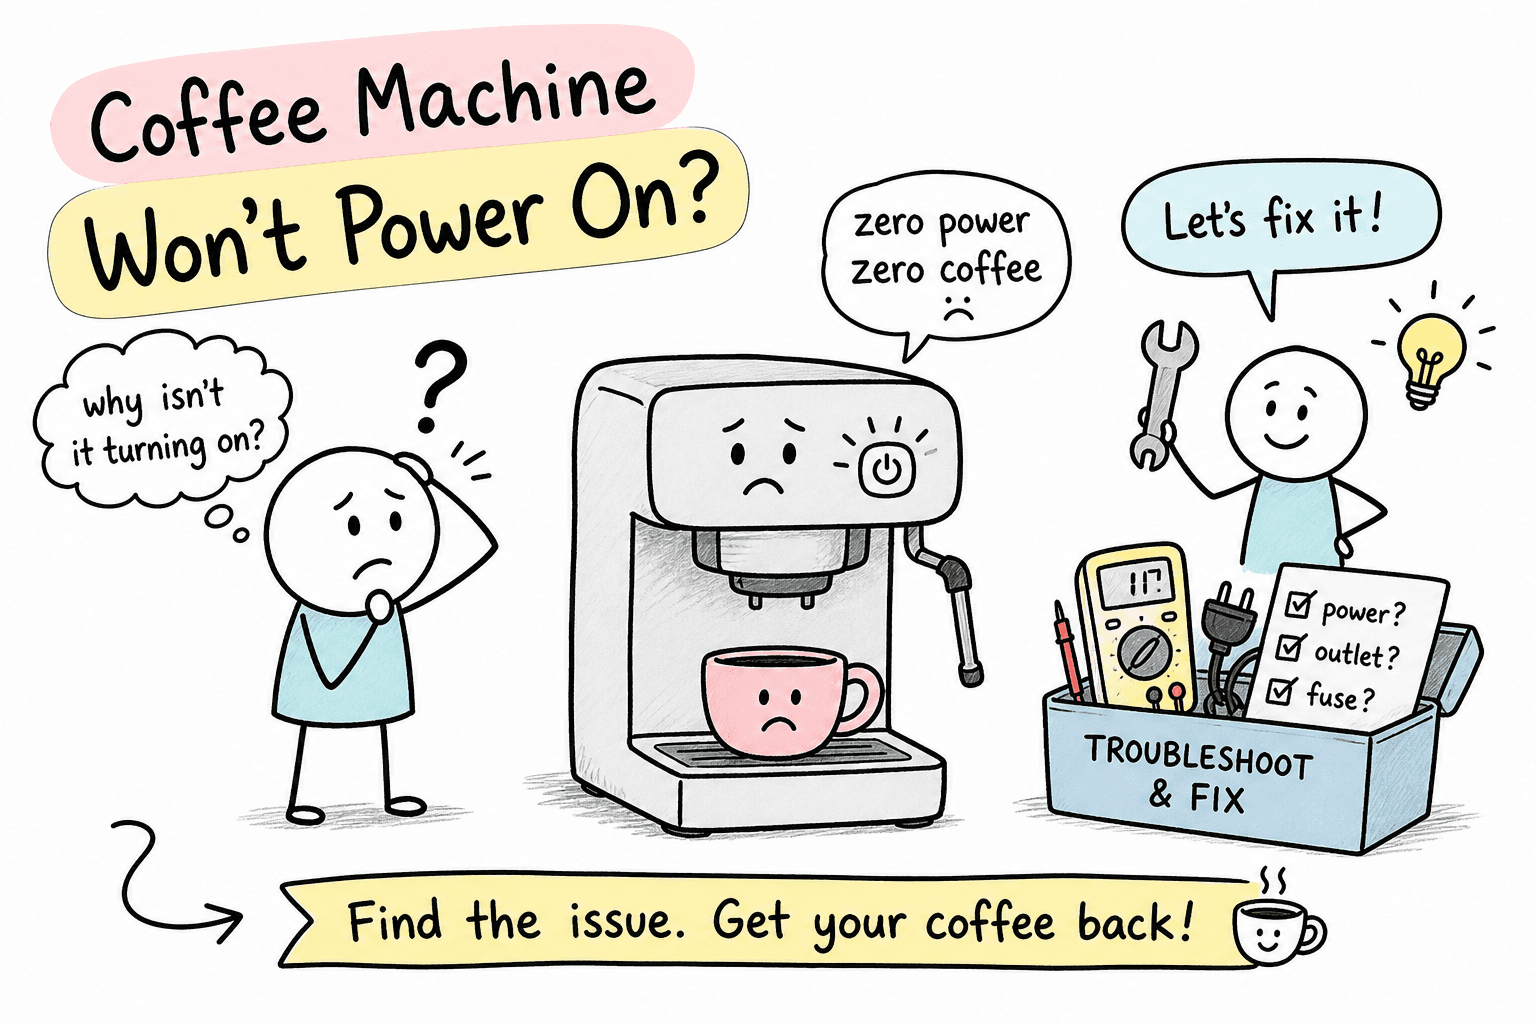
Wondering how can I fix a coffee machine that won’t power on? Discover causes, troubleshooting steps, and practical fixes to get your coffee machine working.
You pressed the button, nothing happened. No lights, no hum, no warm-up sounds. Just silence. A coffee machine that won't power on is one of the most frustrating appliance faults to wake up to, but it's rarely the disaster it feels like at 7am. The cause almost always falls into one of several diagnosable categories, and working through them in the right order saves you time, money, and the cost of an unnecessary replacement.
This guide takes you through the full diagnostic process, from the simplest external checks to the deeper internal faults that need component-level attention. It follows the same logical sequence our engineers at Alpha Appliances use when they arrive at a job: start at the outside, work inward, and confirm each stage before moving to the next. You'll identify the most likely cause of your specific fault, understand which fixes are safe to attempt yourself, and know when handing the job to a professional is the right call.
This is always the starting point for any coffee machine troubleshooting, and it matters more than most people realise. A machine that appears completely dead is sometimes not faulty at all; the fault sits in the wall outlet, the fuse board, or the power cord itself.
Plug something you know works, a lamp or a phone charger, into the same socket and confirm power is flowing. If it's a GFCI outlet (the type with small reset buttons built into the face, common near kitchen worktops and sinks), press that reset button firmly before assuming anything is wrong with the machine. Check your consumer unit too: a single tripped breaker can kill one circuit without affecting the rest of the house, and it's easy to miss.
With the machine unplugged, run your hand along the full length of the cord. Look for cuts, sharp kinks, flattened sections, or scorch marks. Examine the plug blades for pitting, discoloration, or any sign of heat damage. A damaged cord is a fire risk, not a minor inconvenience. It should be replaced, not taped up and reused. If the plug or cord feels warm when the machine is in use, stop immediately and unplug it.
If the power source checks out and the machine still shows no sign of life, the thermal fuse is a common internal cause. This small safety component sits near the boiler or heating element, designed to permanently cut power if the machine overheats. Unlike a resettable thermostat, a blown thermal fuse stays open. That is the reason the machine appears completely dead, no standby light, no flicker, nothing.
Unplug the machine and let it cool fully before opening the casing. The thermal fuse is usually a small cylindrical component in a heat-resistant sleeve, clipped near the heater or boiler assembly. Set your multimeter to continuity mode and touch one probe to each end of the fuse. A beep or near-zero resistance reading means the fuse is intact. No continuity means it has blown and is the source of your fault. For a step-by-step visual guide on testing thermostat and thermal fuses, see how to test a thermal fuse.
Always match the replacement to the original temperature and current rating, which is printed directly on the fuse body. Common ratings vary by brand: DeLonghi machines often use 167°C fuses, Nespresso models frequently use 133°C at 10A, and Gaggia-style espresso machines typically sit in the 184°C to 192°C range. Because ratings are model-dependent, always verify the figure printed on the original fuse body rather than relying on general brand guidance alone. For specifics on testing fuses and elements in De'Longhi coffee machines consult the model guide before ordering replacements.
Use proper high-temperature crimp terminals and re-insulate with the original fibreglass or silicone sleeve. Never bypass the fuse permanently or fit a higher-rated one to stop it blowing. It exists to prevent overheating and fire, and removing that protection creates a serious hazard.
Before assuming internal damage, check whether the machine is actually powered down or simply stuck in a protection state. Many modern coffee machines, particularly bean-to-cup, pod-style, and semi-automatic espresso machines, refuse to power on if a component isn't seated correctly. The machine isn't broken; it's waiting for the right conditions before it allows startup.
Remove and firmly reseat the water reservoir, drip tray, and carafe. Some machines use magnetic sensors or contact points that prevent startup if any component is even slightly misaligned. Technicians encounter this regularly as a cause of a coffee machine appearing completely dead, and it takes about ten seconds to rule out.
Check the manufacturer's manual for a soft reset procedure. Most involve unplugging the machine for 30 seconds to clear the control board's stored state, then reconnecting. The Nespresso Vertuo range has a specific reset sequence: close the head, then press the button five times within three seconds until the light blinks to confirm. Some Keurig models, including certain K-Supreme units, have a small access hole on the base for a paperclip reset that manually releases a tripped thermal switch. A 30-second power drain combined with a button-hold on power-up can revive machines that appear totally unresponsive without any internal fault being present.
Mineral scaling doesn't just slow a machine down over time. In hard water areas, it can cause a coffee maker to refuse to start at all. Scale coats sensors, narrows water passages, and acts as insulation on heating surfaces, driving rapid overheating and triggering the machine's safety systems before it can complete startup.
When water-level probes or temperature sensors become coated in limescale, they send incorrect readings to the control board. Even a thin film of scale is enough to cause sensor drift and erratic control behaviour. The machine registers an unsafe condition and locks out before it powers on fully. A machine that tripped immediately on startup, or one that worked normally until recently in a hard water area, often has scale as the root cause rather than a component failure.
Use a manufacturer-approved descaling solution and run the full flush cycle as described in your machine's manual, then rinse thoroughly. After descaling, perform a soft reset and test again. If the machine still won't power on after a complete descale, the scale has likely already caused a secondary failure, most commonly a blown thermal fuse or a damaged heating element, that needs direct attention rather than further descaling. For more on causes, prevention, and optimal water hardness, see understanding limescale in espresso machines.
If all the above checks come back clear and the machine is still completely dead, the fault is deeper inside. Control board failure and internal wiring damage are less common than a blown thermal fuse, but they're not rare, particularly after a power surge or years of high-temperature cycling.
A machine that was working normally until a storm or power surge is a strong candidate for control board damage. Burn marks inside the casing, a faint electrical smell, or visible scorching on the circuit board all confirm internal damage. Internal wiring faults, loose crimp connections, corroded terminals, or burnt insulation, can also cut power completely without leaving any visible external signs, which makes them harder to diagnose without opening the machine.
Control board part costs vary widely by model and can run to several hundred pounds, with total repair costs often reaching £300 to £500 once labour is factored in. If the machine is more than five years old, or if the repair cost exceeds half the price of a comparable new model, replacement is usually the better financial decision. For machines under two years old, or for high-end espresso machines valued at £300 or more, a board repair is worth pursuing: the economics still make sense and the machine is worth saving.
Some faults reach a point where continued DIY testing creates more risk than it resolves. Knowing when to stop is part of diagnosing the problem correctly, not a sign that the troubleshooting process has failed.
If the plug or power cord runs warm during use, if the machine repeatedly trips the circuit breaker, or if you find burnt wiring, melted insulation, or any scorching inside the casing, stop and unplug the machine. A multimeter test that shows a grounding fault on a metal-bodied machine is equally serious. These are safety issues governed by the Electricity at Work Regulations 1989, not repair challenges to push through. For a concise checklist of DIY repair safety see the specialist guidance before attempting further work.
Once you've worked through the steps above, you'll have a clear picture of whether this is a job to complete yourself or one to hand over. For larger household appliances, washing machines, dishwashers, tumble dryers, and refrigerators, where electrical faults carry higher stakes, a certified engineer is the right first call rather than the last resort. If the problem is with a washing machine, our specialist write-up Solving Insinkerator Washing Machine Issues in Aldgate explains the typical faults and when to call a technician. Alpha Appliances engineers are City & Guilds certified and carry out fixed-price diagnostics across all major appliance brands throughout London, Surrey, Berkshire, Hampshire, and Dorset, with next-day availability and a strong first-visit fix record. We also operate local teams such as Canonbury Appliance Engineers, Fixing with Care to keep response times short. Book online in four steps and avoid the wait times that manufacturer service channels typically involve.
Working through the fault one system at a time is what separates a resolved problem from an expensive guess. Many common faults are caught within the first four checks using a multimeter and basic tools, though if anything you find suggests a wiring or safety issue, stop and call a qualified engineer rather than continuing.
If your checks point to internal damage you're not comfortable tackling, or if the fault turns out to be in a larger appliance elsewhere in the home, don't leave it sitting there getting worse. For fast local support in South London see Morden Appliance Repair, Get Back on Track. Book a diagnostic with Alpha Appliances, get a clear answer on the day, and get the right fix done first time.
Book a visit from a certified Alpha engineer in minutes.
TRUSTED BY HOMEOWNERS
Fast, reliable, and warranty-backed repairs for every major brand.
Discover more tips from Alpha engineers.