
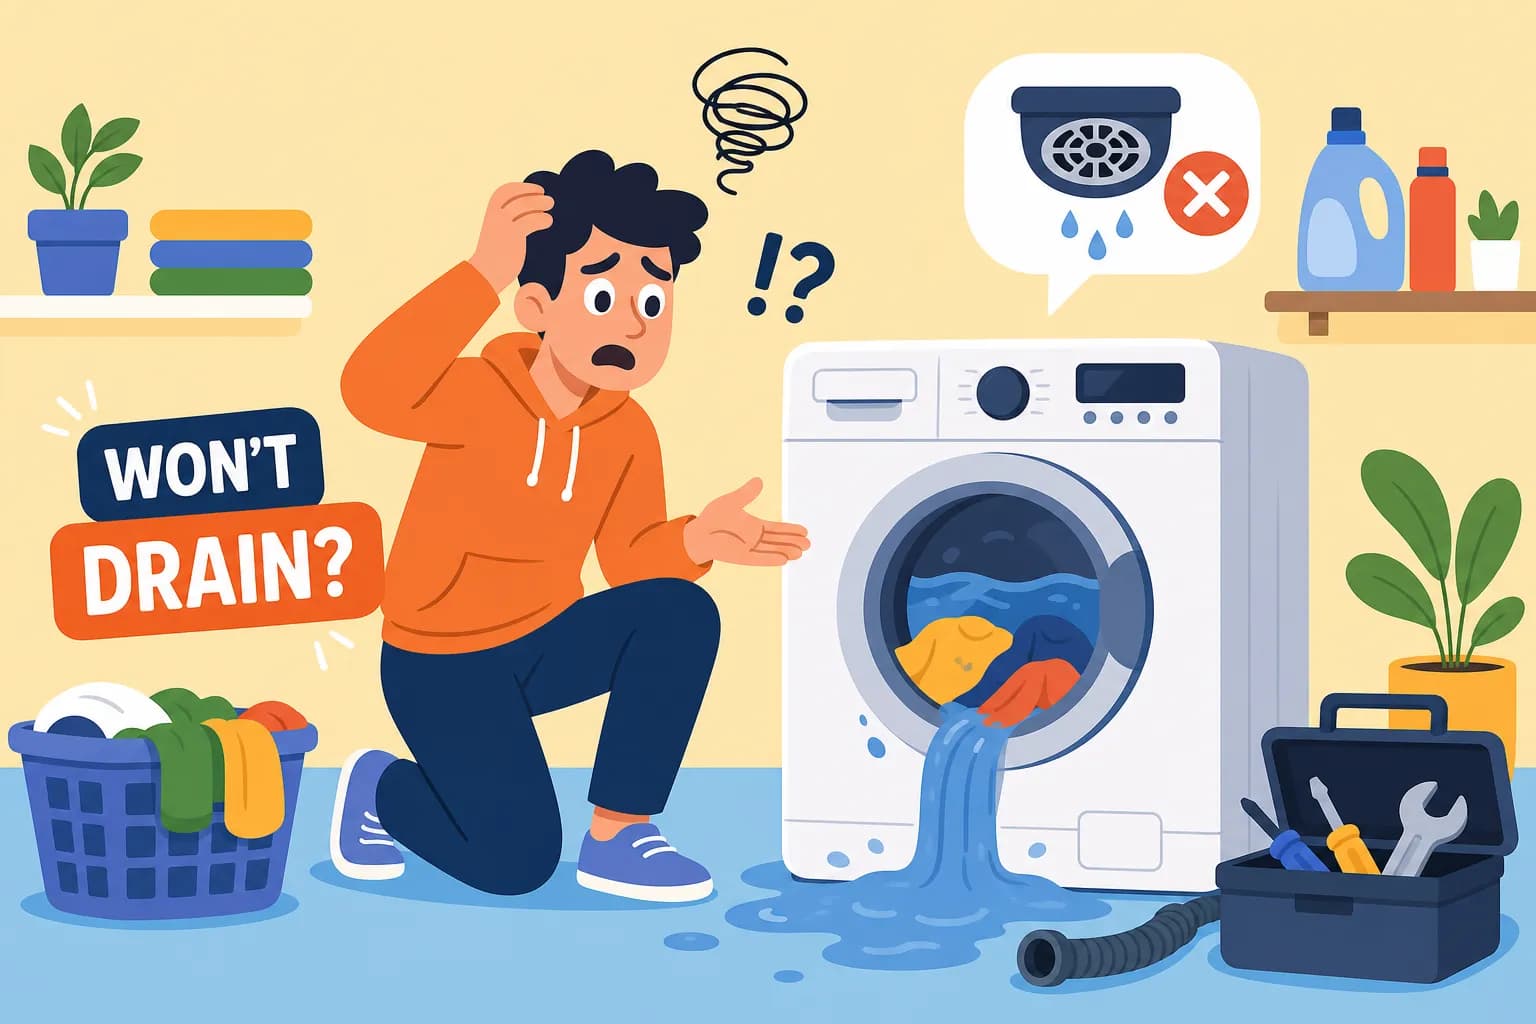
Washing Machine Won't Drain? Here's What to Do
You open the washing machine door at the end of a cycle and your heart sinks: the drum is still full of grey water, your clothes are sodden, and the door is locked shut. It's one of the most frustrating appliance problems a homeowner can face, and it always seems to happen on the worst possible day. If your washing machine won't drain, the cause is nearly always one of a small number of common issues, a blocked filter, a kinked hose, or a pump fault, rather than a mysterious internal failure. This step-by-step UK guide covers all three so you can work through them in order. (Searching for "washing machine wont drain"? You're in the right place.)
This guide works through the three main causes in order of likelihood, starting with a fix that costs nothing and takes around ten minutes. Some of the checks here are genuinely safe to carry out at home; others cross into territory that requires a certified engineer. The guide is honest about which is which, so you won't waste time on something that puts you at risk or voids your warranty.
One important note before you start: if the door is locked and the drum is full, do not force it open. Unplug the machine first, then drain the water through the filter access panel or an emergency drain hose if your model has one. Only once the water level has dropped will the door interlock release safely.
What to do when your washing machine won't drain: the three most likely causes
A washer that won't drain almost always comes down to one of three things: a blocked pump filter, a kinked or clogged drain hose, or a failing pump. Most causes can initially be checked at home; a definitive pump repair typically needs a professional. Working through the causes in order avoids unnecessary panic and unnecessary call-outs.
A blocked pump filter
The pump filter is the single most common reason a washing machine stops draining, and it's the first place to check. Its job is to catch lint, coins, hair grips, and small debris before they reach the pump impeller. Over time, this material accumulates to the point where water simply cannot get through. Many front-loading models have a low front access filter where debris can collect particularly quickly. Many homeowners don't know the filter exists until the first time the machine refuses to drain.
A kinked or clogged drain hose
The drain hose runs from the back of the machine to a standpipe or under-sink connection, and it's more vulnerable than it looks. A sharp bend, a twist caused by pushing the machine too close to the wall after installation, or a slow build-up of soap residue on the hose interior can all stop water escaping completely. Moving the machine, for a deep clean, for example, can kink the hose; this is a frequently encountered cause, so it's worth checking whenever the machine has been shifted and pushed back into position.
A failing drain pump
If the filter is clean and the hose is clear, the pump moves into the frame. The drain pump is the hardest cause to fix at home; later in this guide you'll find guidance on recognising a pump fault and what a repair typically costs. The key point at this stage is that a pump fault produces specific sounds and error codes that make it identifiable before any engineer arrives.
How to clean the pump filter safely (start here)
This is the fix to attempt first, every time. A significant proportion of drainage problems, many engineers report it is the majority of call-outs, clear up completely once the filter is cleaned, and it requires no tools beyond a flat-head screwdriver on some models. The one non-negotiable rule: unplug the machine from the mains before you touch anything.
What you'll need before you start
Gather a couple of old towels, a shallow dish or baking tray, and a flat-head screwdriver in case the access panel on your model needs one to open. Water spillage is essentially guaranteed, so lay the towels across the floor in front of the machine before you open anything. Many front-loaders have a small emergency drain hose tucked beside the filter cap inside the access panel. If yours has one, use it to empty the residual water into the tray in a controlled way before unscrewing the filter itself, which will save a significant amount of mess.
Cleaning the filter: step by step
- Unplug the machine from the mains.
- Lay towels on the floor around the access panel at the lower front of the machine.
- Open the small rectangular panel, using a flat-head screwdriver if needed.
- If an emergency drain hose is present, pull it out, remove its cap, and empty the standing water into the tray before proceeding.
- Turn the filter cap anti-clockwise and pull it out carefully, keeping the tray underneath.
- Remove lint, coins, hair, and any other debris by hand.
- Rinse the filter under warm running water and use an old toothbrush to shift any stubborn build-up.
- Check inside the housing cavity for any remaining debris before reinserting.
- Push the filter back in and turn it clockwise until it seats firmly.
- Close the panel, plug the machine back in, and run a short drain or rinse cycle to confirm the problem is resolved.
If the filter cap won't turn or the panel won't open, do not force it. Filter designs vary significantly between brands and model years, and forcing a stiff cap can crack the housing. Check your model's manual or contact a repair specialist rather than risk causing additional damage.
Checking the drain hose for kinks, clogs, and siphoning
If the filter was clean or cleaning it didn't resolve the problem, the drain hose is next. This check is straightforward, requires no disassembly, and takes about ten minutes from start to finish.
How to inspect and clear the hose
Unplug the machine and pull it forward carefully, far enough to see the full length of the hose at the back. Look for any sharp bends, sections that have been flattened against the wall, or white crystalline residue at either end where soap minerals have accumulated. Disconnect the hose at the standpipe end and flush through with hot water, holding it over a bucket. If plain flushing doesn't shift a stubborn blockage, a flexible drain snake or a soak in hot water mixed with white vinegar will loosen most soap build-up before a second flush clears it. Reconnect the hose securely and run a test cycle before pushing the machine back into position.
Siphoning: the less obvious culprit
Siphoning, or a washer siphoning back water into the drum, is less well known but worth understanding. It happens when the drain hose is either inserted too far into the standpipe, creating a sealed connection, or positioned at the wrong height, allowing water to flow back into the drum after it has drained. The result can look like a machine that isn't draining, when in fact it's draining and then refilling itself. To test for siphoning, disconnect the hose from the standpipe, direct it into a bucket, and run a drain cycle. If the machine drains normally into the bucket, the standpipe connection or hose position is the issue rather than the machine itself. According to manufacturer and UK plumbing guidance, the hose should sit between 60 and 90 cm above floor level and must not be sealed airtight into the standpipe; a small air gap prevents siphoning and is part of correct installation. A washing machine drain blocked by a siphoning issue is easily overlooked, so it's worth ruling out whenever the filter and hose are otherwise clear.
When a washing machine won't drain: how to tell if the pump has failed
If the filter is clean and the hose checks out, the pump is the likely cause. A pump fault presents differently from a blockage, and recognising the signs helps you describe the problem accurately when you book a repair.
Warning signs during the drain cycle
Listen carefully when the machine reaches the drain phase. A humming or buzzing sound without any water movement, a grinding or rattling noise (often caused by a small object caught in the impeller), or complete silence where you'd normally hear draining are all strong indicators of a pump fault. Other signs include standing water in the drum at the end of every cycle, the machine stopping mid-cycle because it cannot progress to the spin phase, and visible leaks near the base of the machine, which can point to a damaged pump housing.
Error codes that confirm a drainage fault
Modern washing machines display error codes when a drainage fault is detected. On Beko machines, the most common drainage-related codes are E03 (drain pump malfunction), E08 (drainage or pump-out fault), H6 (water drainage fault), and E14 or E16 (drain filter or pump errors). LG machines typically display OE, E03, or E21 for a drainage fault, while Whirlpool models use F9E1 or the code Ld on some ranges. Always cross-reference any code against your specific model's manual, as codes can vary between model series even within the same brand. An error code tells you the machine has already identified the fault area; what matters next is whether the code clears after a filter clean or persists through multiple cycles.
Which fixes are safe to do at home and where to draw the line
Being clear about boundaries here matters more than it might seem. Attempting a repair that's beyond safe DIY territory can void a warranty, create an electrical safety hazard, or turn a £130 pump replacement into a more expensive fault further down the line.
Safe DIY territory
A competent homeowner can safely handle the following without any electrical knowledge or internal disassembly: cleaning the pump filter, straightening or flushing the drain hose, repositioning the hose to the correct standpipe height, removing an unbalanced load that may have triggered a protective mid-cycle stop, and running a reset cycle after clearing a blockage. All of these stay within the filter access panel and the external hose, well away from mains components.
Where to stop and call a professional
Replacing or repairing the drain pump requires accessing internal electrical components behind the machine's casing. This is not a job for a DIY approach, particularly on machines still under manufacturer warranty, as unauthorised internal repair often invalidates the warranty entirely. UK health and safety guidance is clear on this point: avoid working on live components unless you are competent and trained to do so. If the pump is the source of the problem, a certified engineer is the right and cost-effective next step.
Repair costs and when to call a certified washing machine engineer
Being transparent about cost upfront is something Alpha Appliances Ltd has always believed in, so here's what a drain pump repair genuinely costs across the UK before any decision is made.
What a drain pump repair typically costs in the UK
The pump part itself runs from roughly £20 to £50 depending on the brand, but labour and call-out fees bring a typical drain pump repair to around £100 to £160 all in for a standard appointment. Premium brands, remote locations, or out-of-hours bookings can push the total higher. Some repairers, including Alpha Appliances Ltd, offer fixed-price diagnostics, which means the cost is agreed before any work begins and there are no surprise charges after the engineer has visited.
Why calling Alpha Appliances makes sense when basic checks haven't worked
If the filter is clean, the hose is clear, and the machine still won't drain, a pump fault or an internal wiring issue is the most probable cause. Alpha Appliances Ltd's City & Guilds certified engineers carry common pump parts as standard, covering Greater London, Berkshire, Surrey, Hampshire, and Dorset with fully transparent, fixed-price repairs. Booking takes a few minutes online. Calling a professional at this point isn't an admission of defeat; it's the logical, cost-effective move once the DIY checks are complete.
The simple logic that resolves most drainage problems
Work through the problem in order: filter first, hose second, pump third. Most people find the answer at step one, a ten-minute filter clean that costs nothing to try. If the problem goes deeper, the signs are recognisable and the repair cost is predictable.
A washing machine that won't drain is rarely a write-off; it's usually a fixable fault that a certified engineer can resolve in a single visit with the right parts in hand. Knowing when to hand it over is just good sense. If you've worked through the steps above and the water is still sitting in the drum, Alpha Appliances Ltd is ready to take it from there.
Need a repair today?
Book a visit from a certified Alpha engineer in minutes.