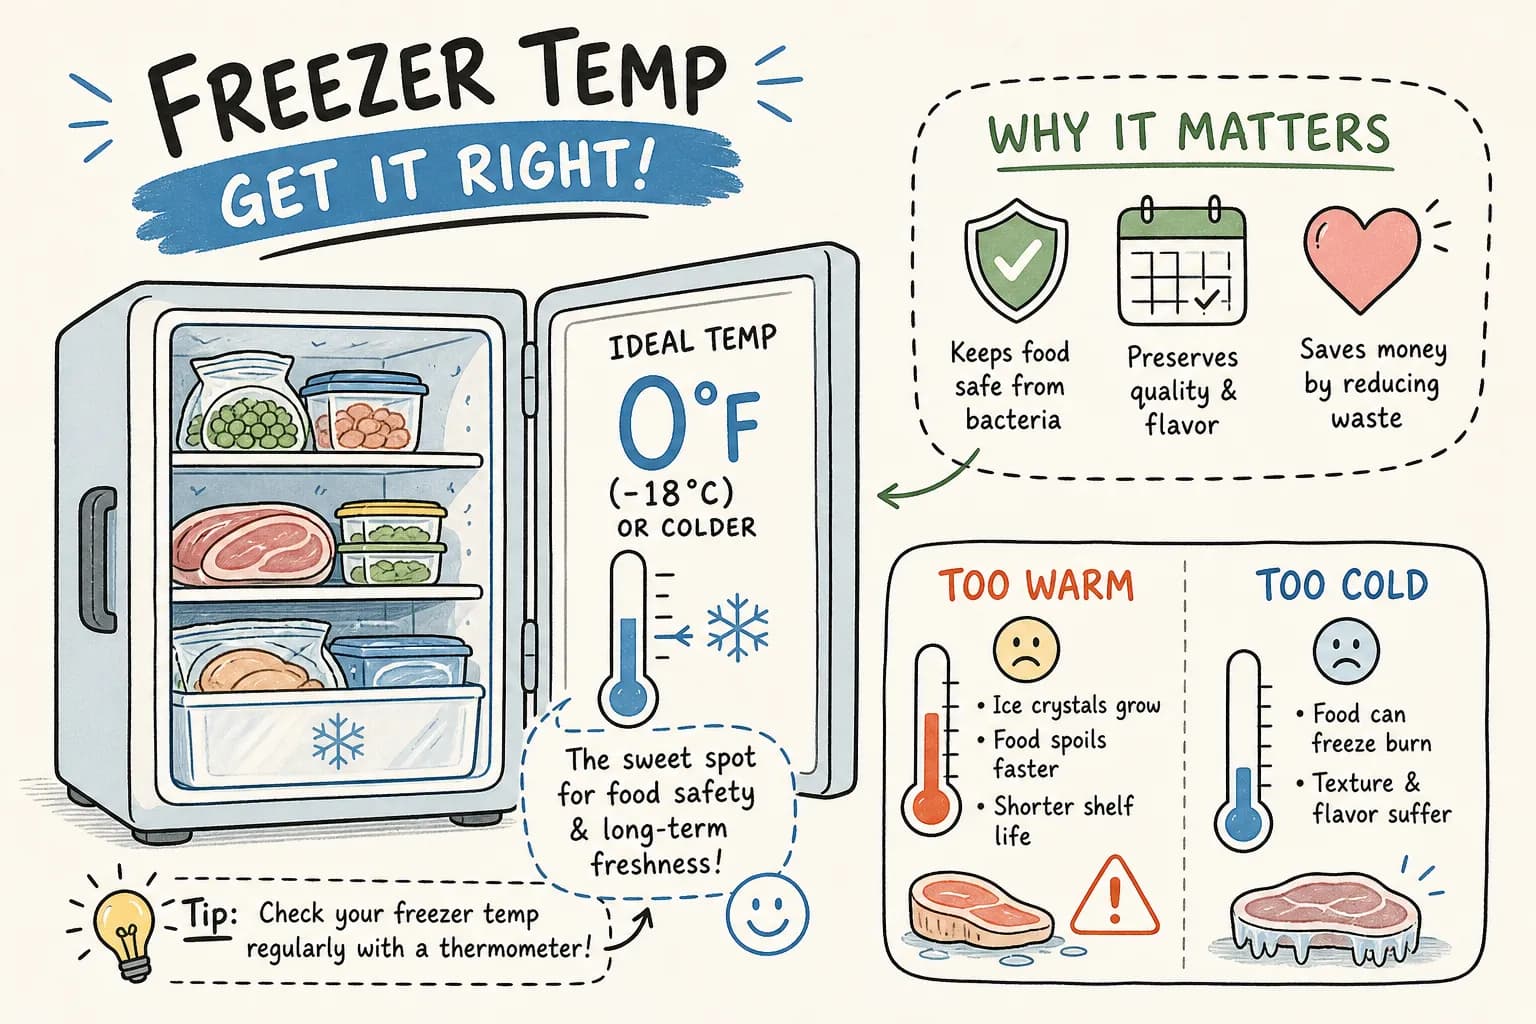
Learn why -18°C matters for safety and quality, how to measure real freezer temperature, spot warning signs, and fix thermostat or seal problems.
What temp should a freezer be? The recommended freezer temperature setting is -18°C (0°F), a figure drawn from guidance published by the UK Food Standards Agency (FSA), the US Food and Drug Administration (FDA), and the World Health Organisation (WHO). It is not a rough guideline: it is the point at which bacterial growth effectively stops and frozen food stays in the best condition for the longest possible time. If your freezer is running warmer than this, even by a few degrees, food quality deteriorates faster and your safety margin shrinks. This guide covers why -18°C matters, how to measure your actual freezer temperature accurately, what warning signs to look for, and what to do if a simple thermostat adjustment is not enough to hold the temperature steady.
Freezing does not kill bacteria; it puts them into a dormant state. Once food thaws, any surviving microorganisms can become active again, which is why the temperature you store food at, and the way you defrost it, both matter. At -18°C, bacterial multiplication is effectively halted, giving you the largest practical safety margin for home storage. This is also why it is the internationally recognised reference temperature for quick-frozen food, as cited by the FSA and WHO.
A warmer freezer setting changes the picture considerably. At -12°C, already-frozen food is unlikely to become immediately dangerous from bacterial growth in the short term, but quality suffers noticeably. Ice crystals grow larger, cell structures break down, and fatty foods go rancid sooner. Freezer burn and flavour loss both happen faster, and cooked leftovers, minced meat, and fish degrade particularly quickly. The ideal freezer temperature of -18°C is not just a safety target; it is about eating food that still tastes good after a month in the freezer, not just food that will not make you ill.
Practical storage quality windows at -18°C vary depending on the type of food. According to FSA guidance, most meats hold their quality for roughly 2 to 12 months, cooked leftovers for around 2 to 3 months, and bread and pastries for around 1 to 3 months. Treat these as quality targets rather than hard safety deadlines. The warmer your freezer runs, the sooner you should aim to use things, and the less forgiving the margin for error becomes.
Built-in mechanical dials generally adjust compressor runtime and do not correspond to a specific temperature. Some models with digital displays do report a measured internal temperature from a sensor, but even then, it is worth verifying with a dedicated appliance thermometer. A digital unit with a remote probe and a min/max logging function is the most reliable option, because it captures the fluctuations you would otherwise miss. Liquid-filled freezer thermometers are a solid, battery-free alternative, provided they are rated to read below -18°C. Avoid standard kitchen probe thermometers unless they are confirmed to work accurately at subzero temperatures.
Placement matters as much as the thermometer itself. Position the probe or bulb between two solidly frozen packages in the centre of the appliance, well away from the door, walls, vents, and any cold-air streams. For a chest freezer, sit the thermometer in the middle of the stored food rather than near the lid. Do not take a reading immediately after loading new items, after a defrost cycle, or following a period of frequent door openings, as the temperature will still be recovering.
Leave the thermometer undisturbed overnight, at least 12 hours. For a particularly accurate result, place the probe in ice cream that has had a full day to freeze solid: it stabilises quickly and gives a reliable approximation of your overall food temperature. A single reading in one spot only tells you about that location; in a large upright or chest freezer, it is worth placing a second thermometer near the door or in the warmest section to check for variation.
The target of -18°C (0°F) applies to every domestic freezer type. What differs is how the controls work. Most chest freezer dials are numbered 1 to 7 or labelled Min to Max, and these numbers represent compressor effort rather than a specific temperature. As a starting point, set the dial to roughly the midpoint (around position 4 on a 1 to 7 scale), then verify the actual temperature with a thermometer after 24 hours. The dial gets you into the right ballpark; the thermometer confirms you have arrived.
Upright standalone freezers often have a wider operating range, with some models running anywhere between -21°C and -15°C as normal variation. Fridge-freezer combinations typically let you set the freezer compartment independently, and -18°C is the correct target for the freezer section regardless of what the fridge compartment is set to. This fridge-freezer temperature guide applies whether your appliance is a compact under-counter unit or a full-height American-style model. After any adjustment, wait a full 24 hours before checking again; the system needs time to reach a new equilibrium. Making multiple adjustments in quick succession makes it very difficult to judge whether any single change has had the desired effect.
If your freezer is nearly empty, it will struggle to hold a stable temperature because there is less thermal mass to absorb fluctuations when the door opens. Adding partially filled water bottles helps it maintain a consistent temperature between door openings. This is a particularly useful tip for chest freezers being used well below their capacity.
The clearest sign of a freezer running too warm is food that should be rock-solid feeling soft or partially thawed. Ice cream is a useful quick check: if it is scoopable straight from the freezer rather than firm, the temperature is likely above -18°C, though scoopability can vary by formulation, so always confirm with a freezer-rated thermometer. Other signs include condensation inside the door, frost accumulating on the rear interior wall, and a compressor that runs almost continuously without actually reaching the target temperature.
Running too cold is less common but equally disruptive. Food becomes difficult to separate, packaging cracks, and bread turns dry and brittle. Frost coating all internal surfaces, not just the rear panel, often points to a faulty defrost timer or thermostat rather than the freezer simply being set too low. In that situation, adjusting the dial will have little effect because the fault is mechanical, not a matter of the setting being wrong.
One of the most commonly overlooked causes of temperature instability is a damaged or poorly seated door gasket. Close the door on a sheet of paper and pull: it should offer firm resistance. If the paper slides out easily, the seal is not doing its job, and warm air will enter continuously, forcing the compressor to overwork. This creates both the frost build-up and the warm spots that cause food quality to suffer. Inspect the gasket for tears, hardened sections, or corners that have pulled away from the frame.
Before calling anyone, there are several checks worth doing yourself. Clean the condenser coils if they are accessible: dust and debris prevent heat from escaping and force the compressor to run harder than it should. Always unplug the appliance before cleaning the coils. Also check that the freezer has adequate clearance from the walls and that cabinetry is not trapping heat around the back of the unit.
If frost has built up heavily on the rear panel, a full manual defrost can restore normal airflow. Unplug the unit, remove the food to a cool box or insulated bags, and let it thaw completely. Avoid using sharp objects, heat guns, or open flames to shift the ice, let it thaw naturally or consult a technician if the build-up is severe. Once defrosted and restarted, give it 24 hours to reach temperature before assessing whether the problem has resolved. If the frost returns quickly, the defrost heater, thermostat sensor, or defrost timer has failed and will need repair rather than just a reset.
If the thermostat adjustment has made no noticeable difference, the compressor clicks repeatedly without starting, the appliance runs continuously without cooling, or a refrigerant leak is suspected, the fault is beyond what any homeowner should attempt to diagnose alone. A faulty compressor, broken defrost heater, or malfunctioning thermostat sensor each require different repairs, and replacing the wrong part wastes both time and money.
That is where professional diagnosis adds the most value. The team at Alpha Appliances Ltd carries out a proper diagnostic on the first visit, identifying the exact cause before any parts are ordered, so you are not paying for guesswork. With City & Guilds certified engineers covering London and the Home Counties, a professional inspection is nearly always the most cost-effective next step once simple adjustments have not resolved the problem.
Most freezer temperature problems have a clear cause: a nudged dial, a worn gasket, or a build-up of frost restricting airflow. Catching these early prevents food waste and keeps the appliance running efficiently. If you have worked through the checks above and the freezer still will not hold a steady temperature, a professional inspection is the sensible next step. Get in touch with our team at Alpha Appliances Ltd for a fixed-price diagnostic and let a certified engineer identify the fault accurately, saving you the cost and frustration of guessing.
You should wait 24 hours after restarting the freezer to allow it to reach the target temperature of -18°C. During the defrost, keep food in a cool box or insulated bags and only return items once the unit has run for a full day and stabilised at temperature.
No, you should verify any built-in display with a dedicated appliance thermometer. Some digital displays report a sensor reading, but a digital thermometer with a remote probe or a liquid-filled freezer thermometer placed between frozen packages gives a far more reliable measurement.
A gasket that does not hold the paper firmly is not sealing correctly and will allow warm air in, causing temperature instability. Inspect the seal for tears or pulled-away corners and arrange repair or replacement, because a persistent poor seal will force the compressor to overwork and degrade stored food quality.
Clean accessible condenser coils every six months. Dust and debris on the coils prevent heat escaping, which forces the compressor to run harder, so unplug the appliance before cleaning to avoid risk.
Book a visit from a certified Alpha engineer in minutes.
TRUSTED BY HOMEOWNERS
Fast, reliable, and warranty-backed repairs for every major brand.
Discover more tips from Alpha engineers.